How to Create Christmas Gift Tags in Canva (Beginner-Friendly Step-by-Step)
The holidays have a way of sneaking up on us. One minute you are planning ahead, and suddenly you are buried in wrapping paper with a pile of naked gifts. You want them to look cute and pulled together—not like you scribbled on a sticky note at midnight.
The good news is you can create Christmas gift tags in Canva that look polished and personal in less than an evening, even if you have zero design skills.
If you are looking for something fast, cute, and simple to make, Christmas gift tags in Canva are one of the easiest projects to start with.
In this guide, you will see exactly how to:
- Create tags using a free template.
- Use only Canva Free elements.
- Design tags with and without a punch hole.
- Use AI to brainstorm short sayings.
- Export as a high-quality PDF to print at home or sell.
If you want an easy win to build your confidence, this is the perfect project.
Table of Contents
What You Need Before You Start
Think of this like laying out your wrapping station so you aren't hunting for scissors. Before you jump into how to create Christmas gift tags, it helps to know what to expect in each step so the process feels smooth and simple.
You only need a few things to get going.
Grab Your Canva Account and Free Gift Tag Template
You can follow this Canva tutorial with a free Canva account and the Christmas gift tag template included in this post. You do not need Canva Pro for any of the steps.

Create holiday tags. Keep things stress-free.
A clear starting point helps you jump in without second-guessing.

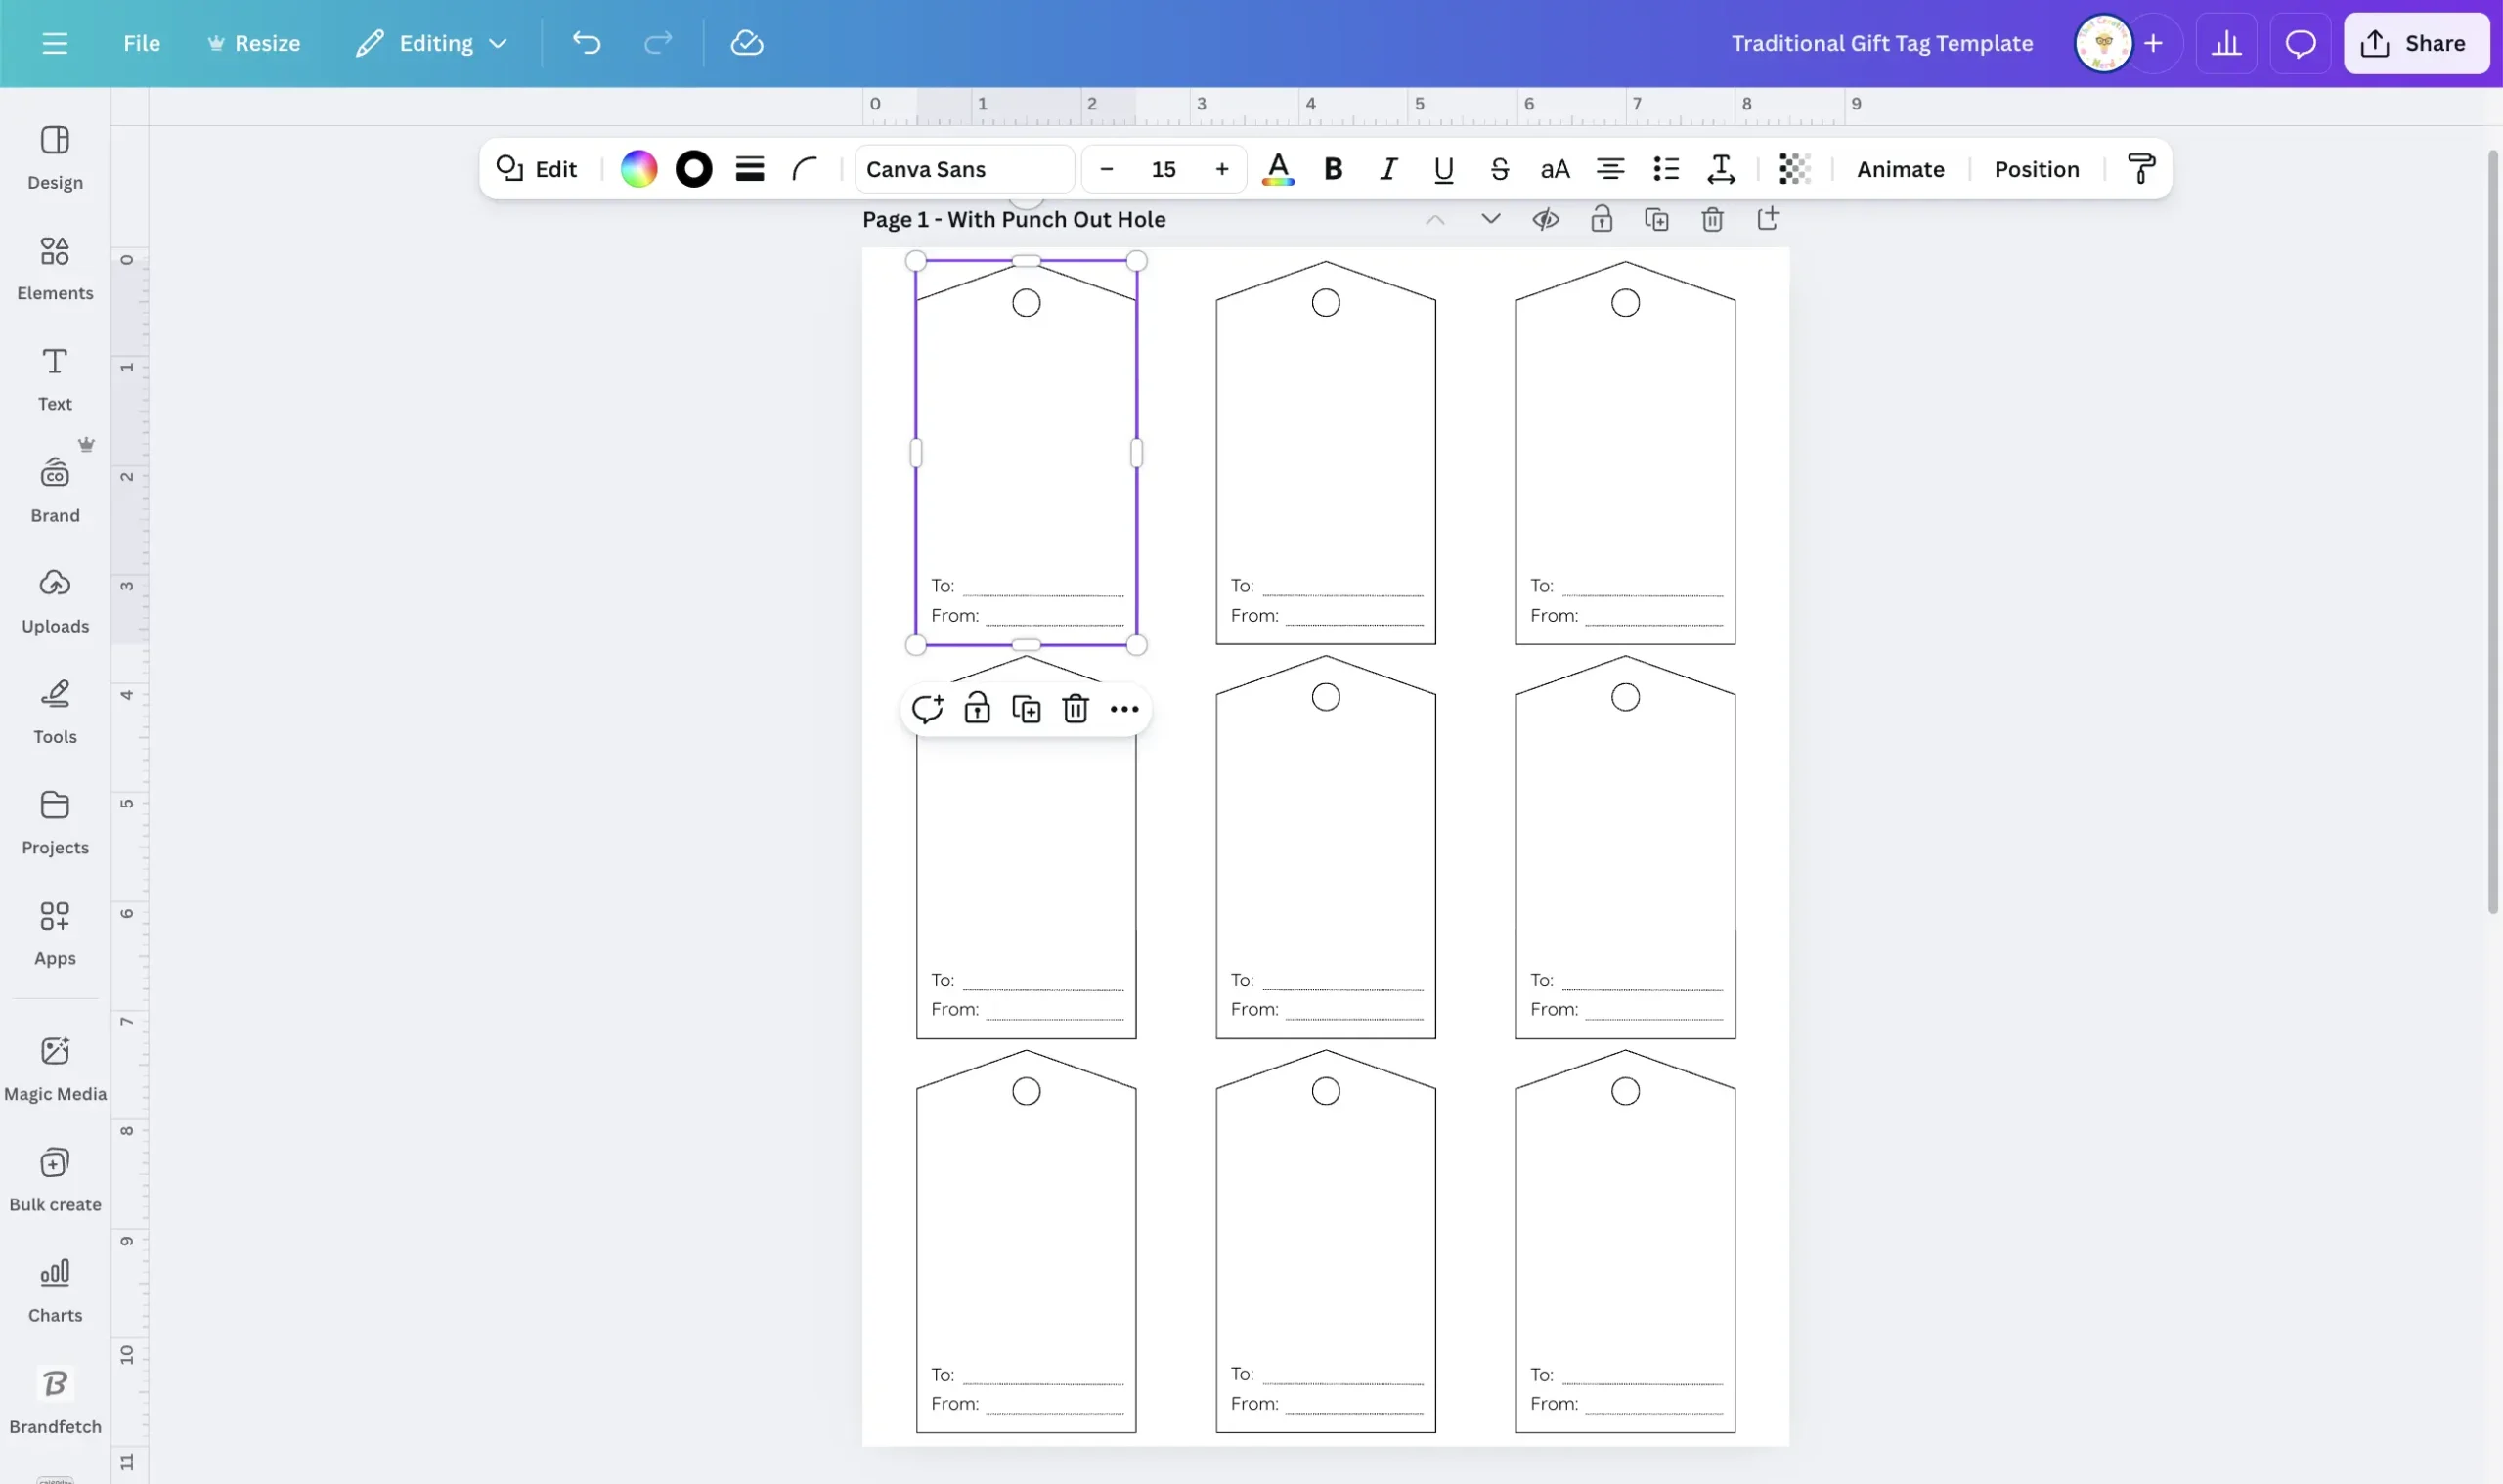
When you open the christmas gift tag template it in Canva, you will see:

Action: Make a copy of the template immediately so you don't save over the original.
Decide on punch hole or no punch hole (or both)
The template gives you two styles of tags.
- With punch hole: Best for ribbon, twine, or string.
- Without punch hole: Best for taping flat onto gifts or making into stickers.
Tip: Start with the punch-hole page first. You can duplicate it and remove the holes later to get both versions fast.
Plan Your Style: colors, theme, and who the tags are for
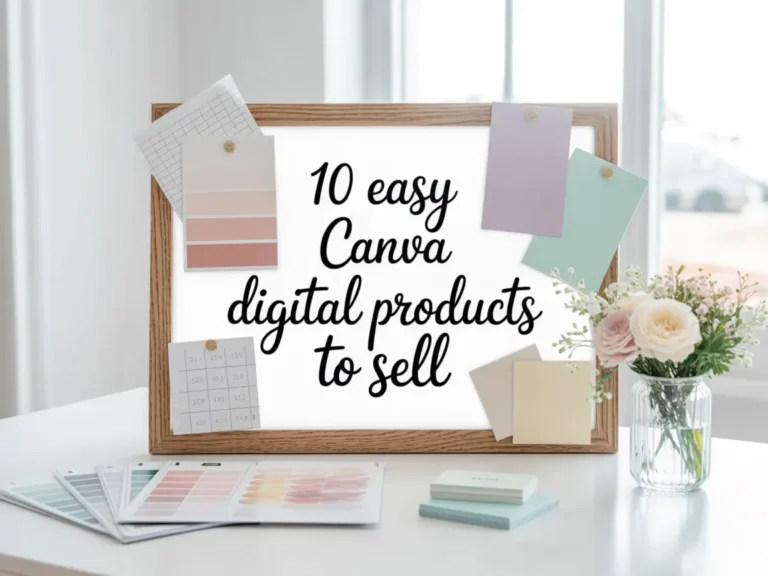
As you start choosing colors and themes, remember that Christmas gift tags in Canva can look classic, playful, or soft and kid friendly. If you enjoy exploring different design styles, you might also like my post on 10 Easy Canva Digital Products to Sell, where I share simple projects you can make with the same creative tools.
Ask yourself:
- Do you like classic red and green, or do you want soft winter blues and snowflakes?
- Are these for small kids, teachers, neighbors? Make sure that if you are selling these, you create for your audience.
- Do you want fun and playful, or simple and cozy?
In the example from the video, I use:
- A light blue background
- A watercolor ice skate graphic (Canva Free Element)
- A short phrase that feels kid friendly
Stuck? Ask AI. Ask ChatGPT: “Give me 5 Christmas tag themes and color palettes for kids.” This keeps you from falling down the rabbit hole of choices.
You are not locked into any of these ideas, but having a rough style in mind keeps you from falling into the rabbit hole in the Elements tab.
How to Create Christmas Gift Tags in Canva Step by Step
Now you are ready to create with your Christmas gift tag template. If you like simple projects, this is a cozy way to make DIY Christmas gift tags in Canva without any fancy tools.
Start with a single tag; once it's complete, copy it across the page so it feels easy and repeatable. Feel free to follow along in the Canva tutorial provided at the top of this post.
Set Up Your First Tag Using The Template
- Zoom in on the first tag
In Canva, use the zoom slider at the bottom right to zoom in on the first tag on your punch-hole page. - Select only the tag shape
Click right on the tag shape, not the text, and not the whole page. You should see only that tag outlined. - Change the background color
- At the top bar, click the color tile.
- You will see default color choices, but you can click “Add a new color” to create your own.
- Drag the color picker until you get a soft light blue, or any shade you like.
If something looks wrong, you might have multiple objects selected. Click anywhere in the gray area outside the page to deselect, then click the tag again and try once more.
Use Canva Free Elements for Cute Christmas Art

Now you're going to add a graphic to bring the tag to life.
- Open the Elements panel
On the left sidebar, click Elements. - Search for Christmas clipart
In the search bar, type something like:- blue Christmas watercolor
- Christmas watercolor clipart
- cute Christmas clipart
- Filter for free graphics
- Click Graphics, then See all.
- At the top, you will see filters like Graphics, Color, Orientation, Animation, Price.
- Click Price, then choose Free.
- Choose and resize your clipart
- Click a graphic you like, for example a pair of watercolor ice skates.
- Grab a corner handle, then click and drag inward to resize.
- Move it where you want it on the tag.
If you change your mind, delete it and try a different free graphic. This part is playful, so give yourself a few minutes to test what feels right for your theme.
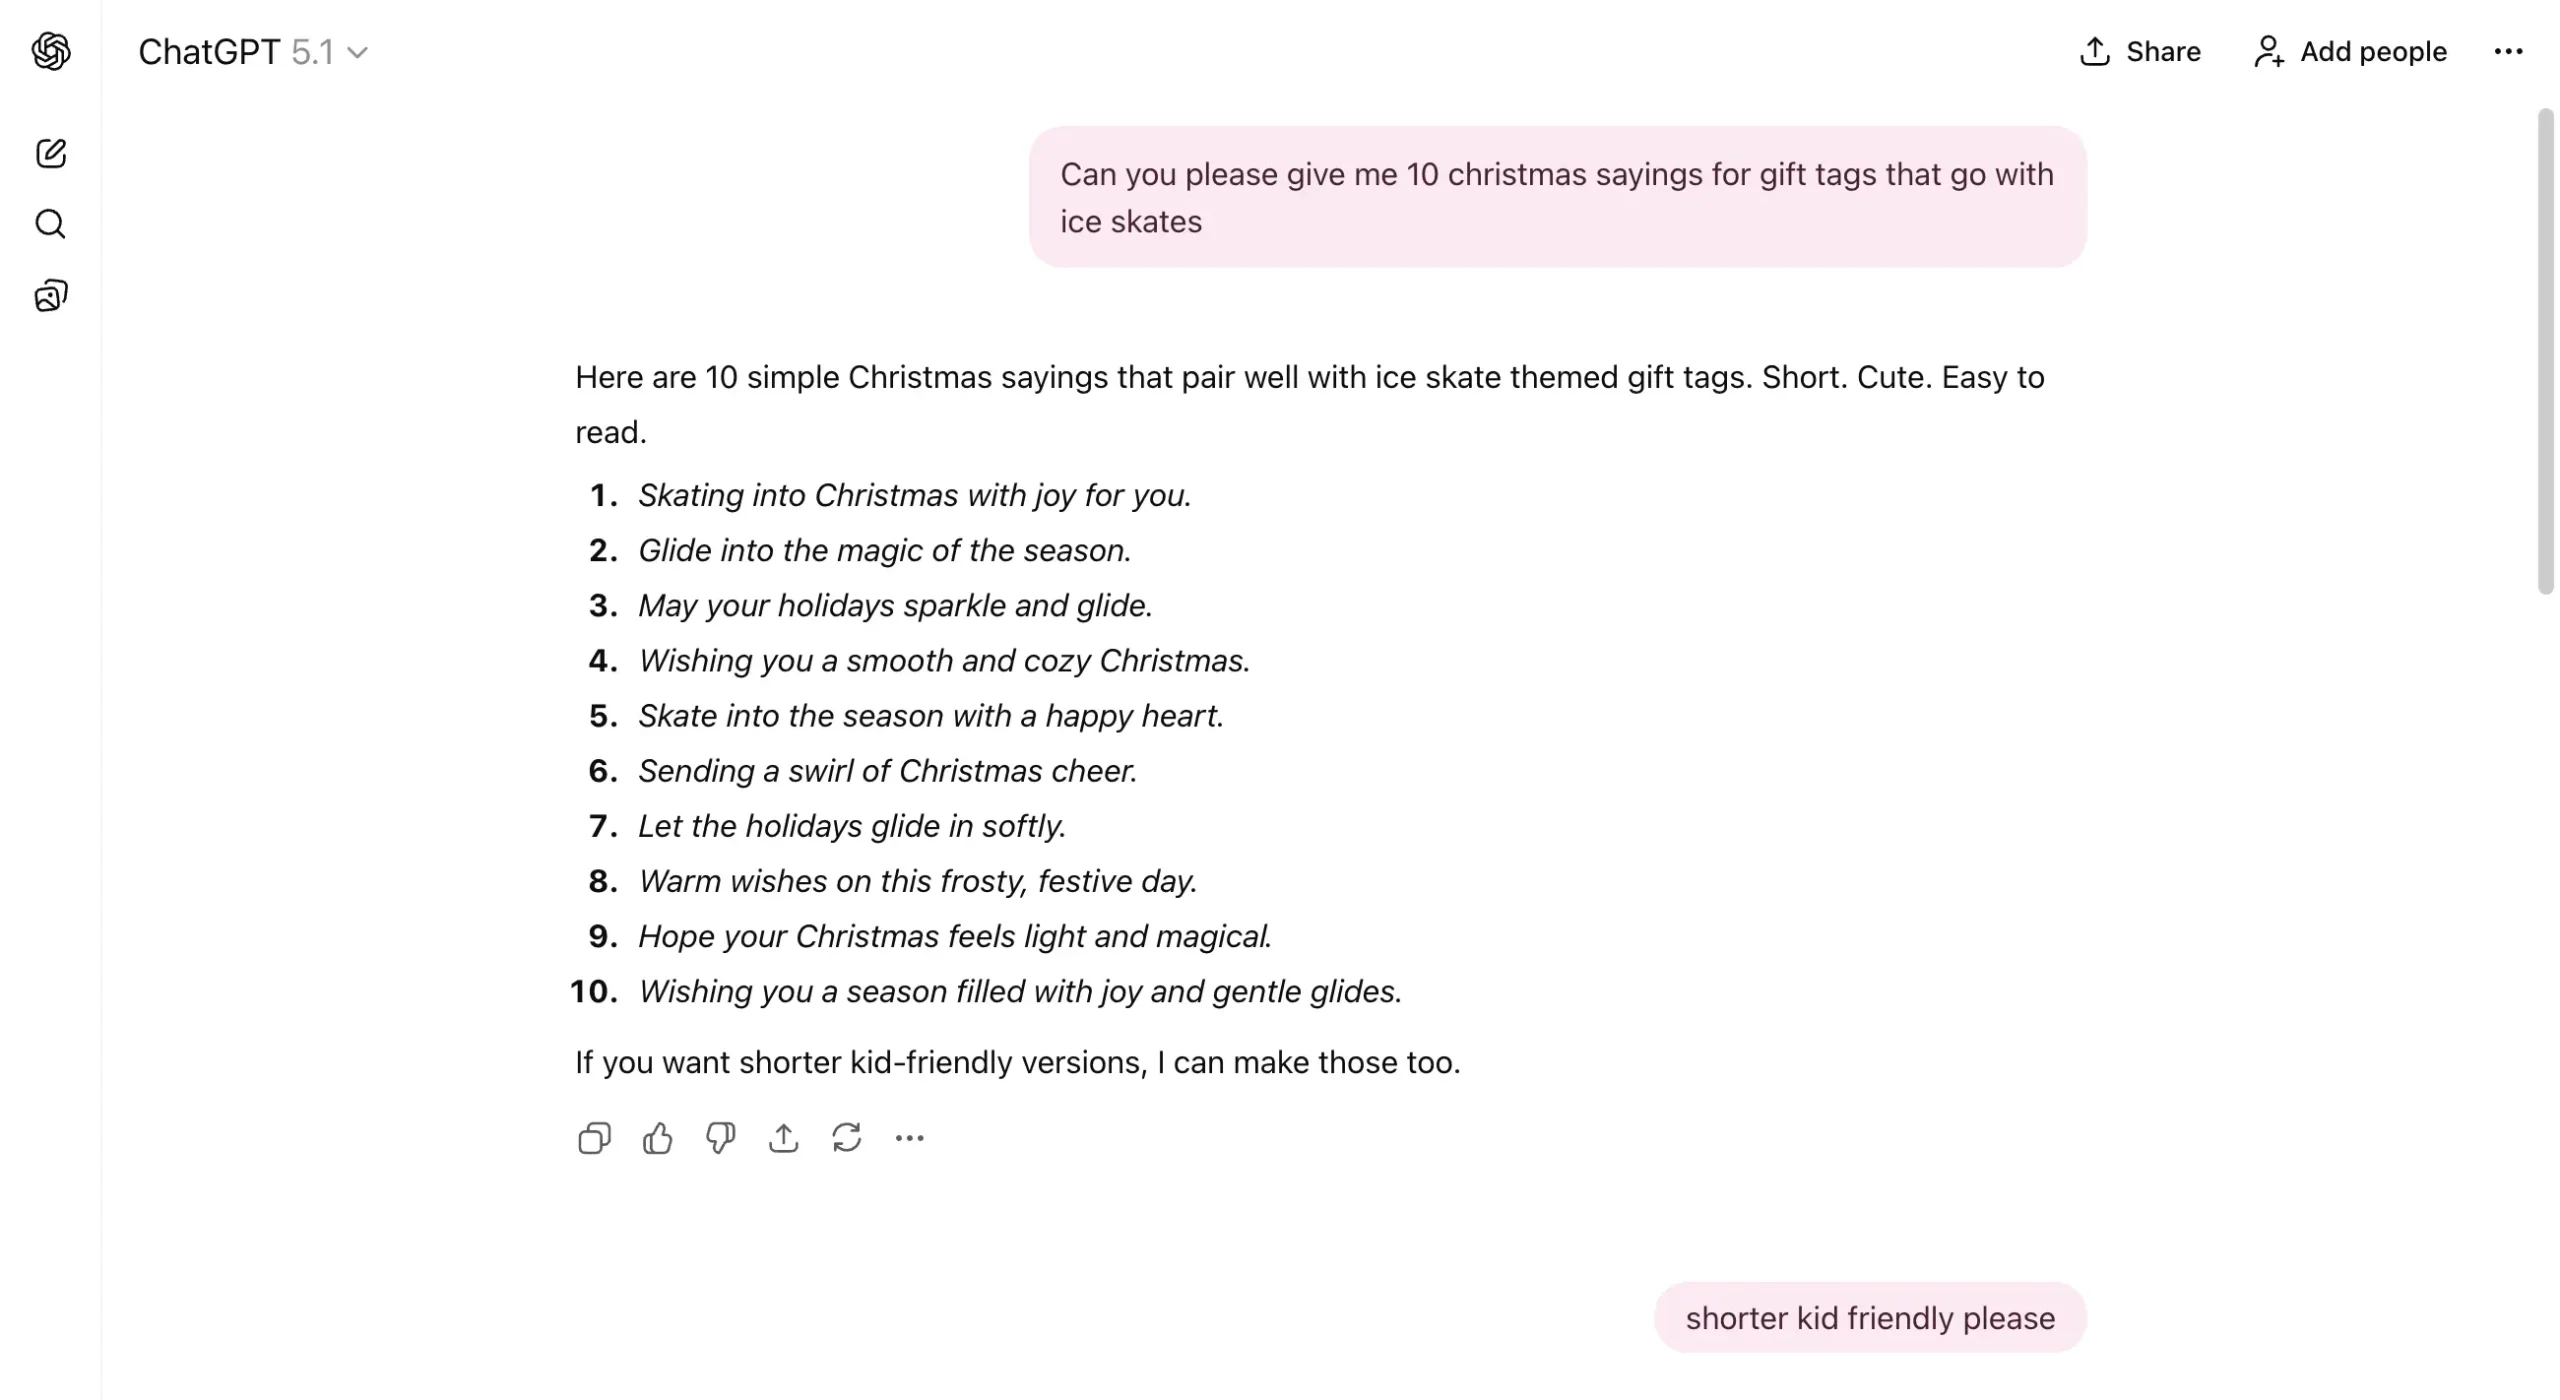
Add Short Sayings With AI Help
Now it is time to add words. Short phrases work best, especially for small tags.
- Open the Text panel
On the left sidebar, click Text, then click “Add a text box.” - Type your phrase
In the tag example, the chosen phrase is “Twirl into Christmas.”
You might split it into two lines:- First text box:
Twirl into - Second text box:
Christmas
- First text box:
- Change the font
- Select the first text box.
- At the top bar, open the font dropdown.
- Choose a fun, easy-to-read font. I used a favorite font called ColorWish, which I got from Design Pixie, but you can use any font available in your account.
- Duplicate the text box
Instead of adding a brand new text box, you can copy the first one.- Select the first text box.
- Press Control + C (Windows) or Command + C (Mac).
- Press Control + V or Command + V to paste.
- Move the new text box under the first and change the word.
Need ideas? Ask AI: “Give me 10 kid-friendly sayings under 4 words that match [clipart].”
Example: Give me 10 kid-friendly sayings under 4 words that match ice skates.
Pick what you like. Shorter is almost always better on a small tag.
- Resize both lines together
- Click one text box, then hold Shift and click the other, so both are selected.
- Grab a corner handle and drag while still holding Shift.
This keeps them in proportion as they scale up or down.
Align & Center Your Design
Centering the text on your tag makes it look intentional and professional.
- Group the text
With both text boxes selected, press Control + G or Command + G to group them. Now they move as a single piece. - Center the text on the tag
- Click the grouped text.
- Hold Shift and also click the tag shape so both are selected.
- At the top bar, click Position, then click Center.
Your phrase will snap into the middle of the tag. If it feels too close to the edges, scale the text down a touch, move it up or down, and center again.
- Change the text color
To tie it together with the art, change the text color to match your graphic.- With the text group selected, click the Text color icon in the top bar.
- Pick a color that stands out from the background.
You can repeat the resize and center steps until it looks good to your eye. When it looks balanced at normal zoom, you are ready to repeat the tag across the page.
Copy The Finished Tag Across the Whole Page
Now you will turn one finished tag into a full sheet of printable Christmas gift tags in a few quick steps.

- Select the entire finished tag
Zoom out so you see the whole tag.- Click and drag from the top left of that tag’s area down to the bottom right.
- Everything inside that rectangle, including the tag, art, and text, will be selected.
- Group the full tag
Press Control + G or Command + G to group all parts. This becomes one solid block you can copy. - Copy and paste to fill the first row
- Press Control + C or Command + C to copy.
- Press Control + V or Command + V to paste.
- Drag the new tag over the second tag template shape.
- Repeat once more so you have three matching tags covering the three spots in the first row.
- Send your design behind the old placeholders
Sometimes the original tag outline, punch hole, and “To/From” lines may still be on top.
To fix that:- Click the new tag group in that position.
- Hold Shift and click the tag template below it if needed.
- Click Position, then Send to back.
- Delete the old Tag placeholders
Now, one by one, select the old pieces on top of your design, like:- The tag shape
- The punch out hole
- The words To: and From:
- The lines next to to and from
Hold Shift as you click each piece to select multiple at once, then press Delete on your keyboard.
- Copy full rows to fill the page
- Drag to select the whole first row of finished tags.
- Press Control + G or Command + G to group the row.
- Copy and paste, then drag the second row on top of the second template row.
- Use Position > Send to back if needed, then delete the old placeholders again.
Do the same for the third row. By the end, every tag on that page will match your design.
If something feels off at any point, remember you can always hit Control + Z or Command + Z to undo your last step.
Create Tags With and Without Punch Holes in One File
Once one page looks perfect, you can turn it into a second version without punch holes in just a few clicks.

- Duplicate the finished page
At the top of your page in Canva, click the Duplicate page icon. You will now have two identical pages. - Rename your pages for clarity
Click on the page names and rename them:- Page 1: With Punch Hole
- Page 2: Without Punch Hole
- Select everything on the new page
Go to the Without Punch Hole page.- Click and drag from the top left corner of the page to the bottom right so every tag and object is selected.
- Press Control + G or Command + G to group it all.
- Then press Control + Shift + G or Command + Shift + G to ungroup again.
This step can help separate items that were still grouped in tricky ways.
- Delete the punch holes only
Now, one tag at a time:- Click the small circle that marks the punch hole on a tag.
- Press Delete.
- Repeat for each tag on the page until none of them have circles.
Be careful not to delete the actual tag or any text unless you want a completely blank tag for later writing.
Now you have your full set of printable Christmas gift tags:
- One page with tags ready for string and ribbon
- One page with flat tags ready for tape, glue dots, or make into a sticker.
Choose the right version for your gifts or printables
Keep both pages in the same Canva file. When you need tags for your own gifts, you can print whichever style fits that year.
If you sell or plan to sell printable Christmas gift tags, this also gives you an easy way to offer a small bundle:
- Page 1 for people who love twine and ribbon
- Page 2 for people who like fast, flat tags
You did one design session, but your buyers get options without extra work from you.
Download, Print, and Use Your Christmas Gift Tags From Canva
Your printable Christmas gift tags are ready. Now you just need to get them off the screen and into your hands.

Download your tags as a high-quality PDF
- Click Share in Canva
In the top right corner, click Share. - Choose Download
From the dropdown, select Download. - Set your file type
- For File type, choose PDF Print.
- Leave the other settings as they are unless you already know you need crop marks and bleed.
- Pick your pages
- If you want both punch-hole and no-hole versions in one file, keep both pages checked.
- If you only want one style, open the Select pages menu and choose only the page you need.
Click Download, then save the file on your computer where you can find it again.
Print on the right paper and cut clean edges
Now for the fun part: printing and trimming.
- Use white printer paper for a quick print.
- In your printer dialog, print at 100% scale or Actual size, not “Fit to page.”
- Print a single test page first, so you can check colors and size.
For cutting:
- Use scissors if you are only doing a few sheets.
- Use a paper trimmer if you want straight edges and you plan to print many pages.
- If you are using the punch-hole version, add the holes with a handheld hole punch, then thread ribbon or twine.
Use your tags at home or in your printable shop

Once you know how to create Christmas gift tags in Canva this way, you can reuse the same process for all kinds of projects. Knowing how to create Christmas gift tags in Canva also makes it easy to offer matching sets or seasonal variations in your shop.
You might:
- Print a stack for your family gifts this year and next
- Make a set for a teacher, neighbor, or class party
- Turn the design into a product bundle for a printable shop
You could even offer simple variations, such as:
- Blue winter set
- Classic red and green set
- Pastel set for younger kids
The same steps you just followed will work for birthday tags, thank-you tags, and other family-friendly printables too.
Bringing It All Together
You have just walked through how to create Christmas gift tags in Canva from start to finish. Once you get comfortable making Christmas gift tags in Canva, you can reuse this same process for birthday tags, party favors, and other family-friendly designs.
You picked a style, used a free template, added Canva Free elements, leaned on AI for short kid-friendly sayings, aligned and grouped your design, built both punch-hole and no-hole versions, and exported everything as a print-ready PDF.
Ready for more? If you enjoy this kind of small, doable project, you can turn the same flow into a whole set of family printables over time—from holiday countdowns to chore charts and party tags.
For more quick design tips that make projects like this even easier, you can browse my Digital Design Hacks for shortcuts and Canva tricks that save time.
I’d love to see what you create! Are you going with a classic red and green theme, or something totally different? Let me know in the comments!
Save this tutorial for later!
Don’t have time to design right now? Pin one of the images below to your favorite Pinterest board so you can easily find this guide when you’re ready to make your printable Christmas gift tags during the holiday rush!