How to Run a One-Sheet Print Test for Printables
The printable looks cute on your screen. You print it, and somehow it’s smaller than you expected and that soft pink lettering is barely there. Before you start changing twelve settings and questioning your printer, let’s check one sheet.
A one-sheet print test lets you check the size, little details, and finished shape before printing the whole set. We’ll measure one piece, make sure everything’s readable, and trim it out. Your scissors get a turn before your entire paper stash does.
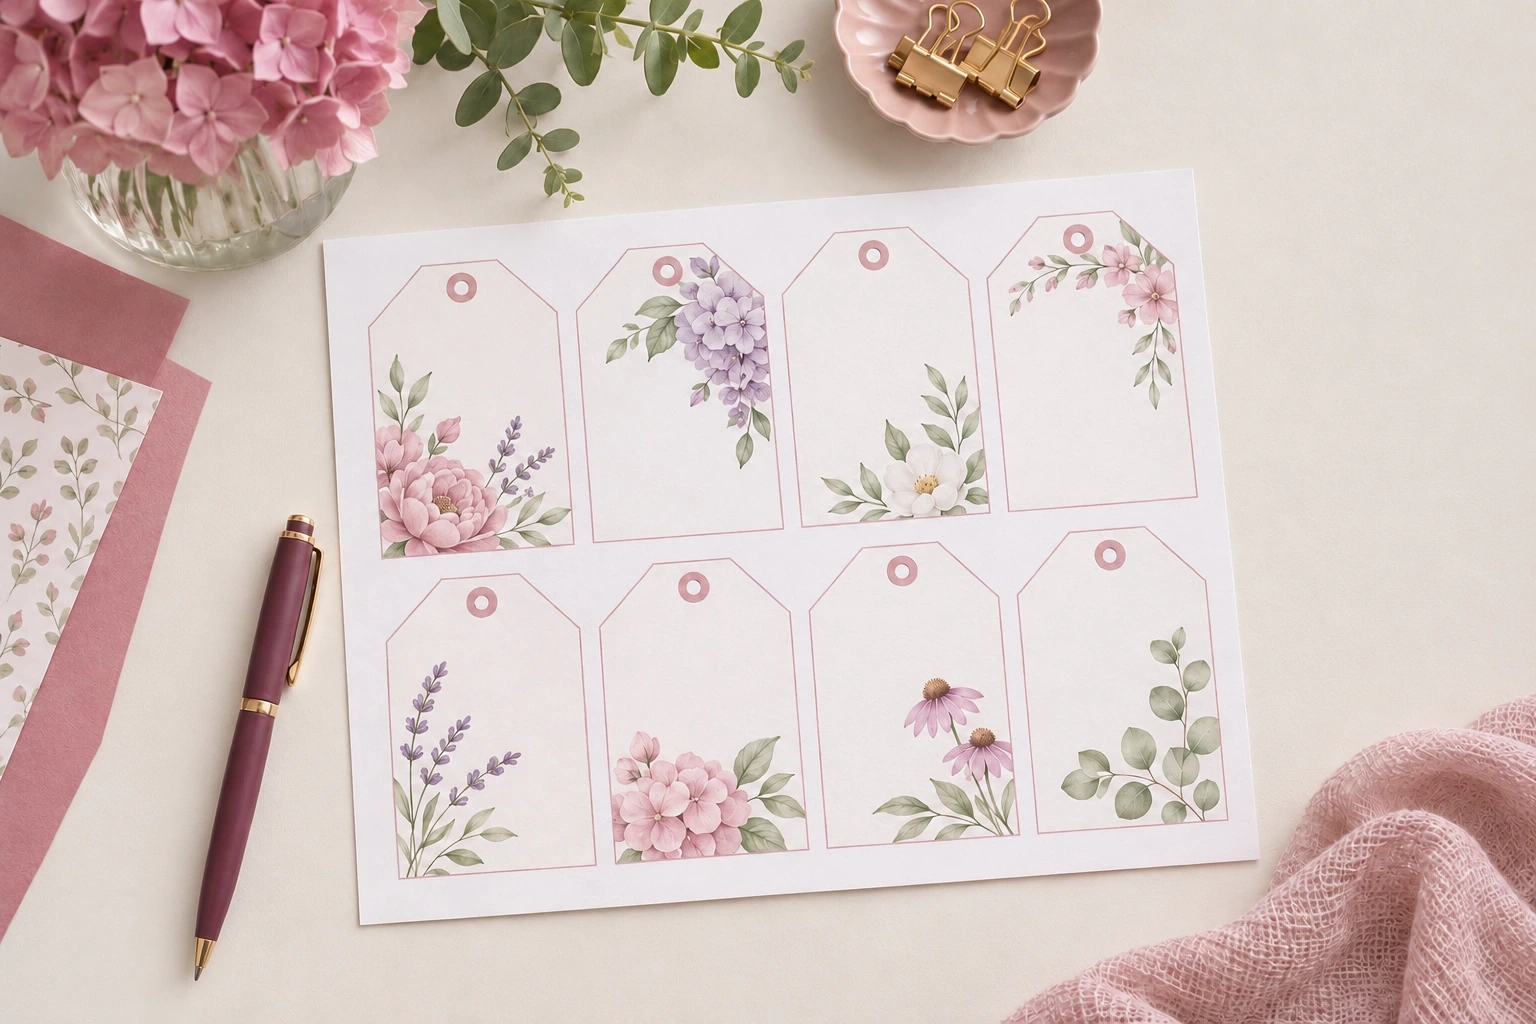
This works for gift tags, cards, planner pages, and other printables. We’ll use gift tags as the example in the photos, so you can see what to check on a real project. Follow along with whatever you’re making; you don’t need a tag project to use these steps.
Before You Start Your Print Test
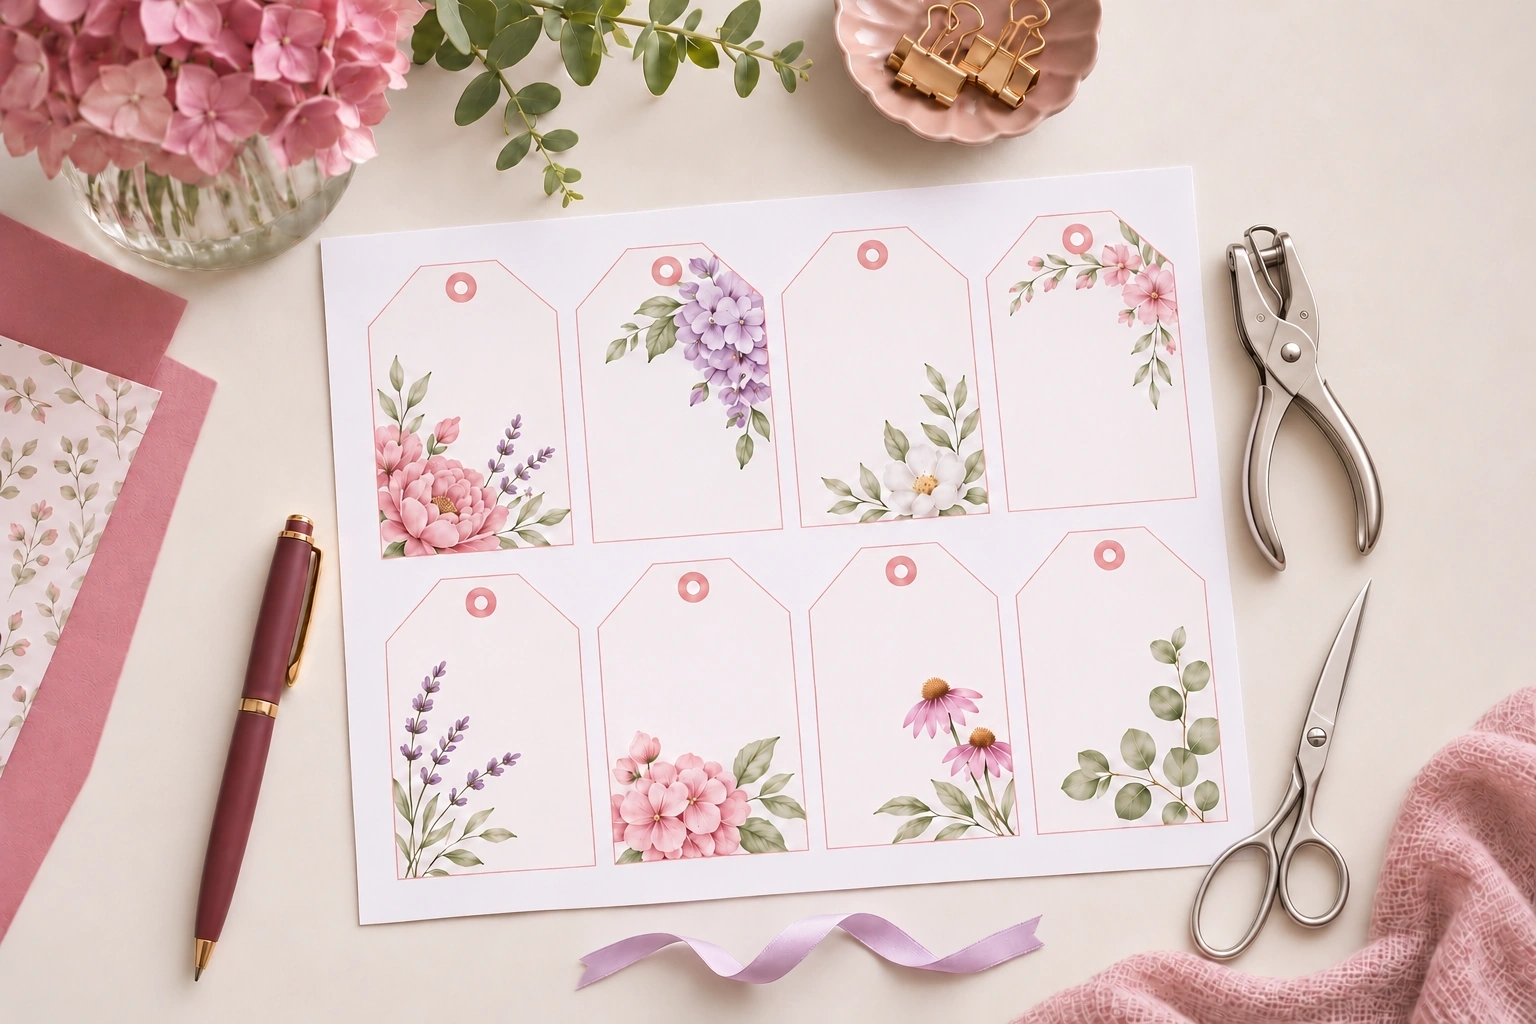
Open your Canva design or PDF, and put a ruler, your cutting tool, and one sheet of paper within reach. If you’re following the gift-tag example, add a hole punch and a little ribbon so you can test the finished tag. For a card or planner page, just bring the tools you’ll use for that project.
If you’re using a downloaded file, open the PDF itself rather than a screenshot. If your project is still in Canva, keep that design open. Choose a page with small text, pale colors, and a piece you can measure. Keep the printable’s instructions nearby, especially if they give you finished dimensions. Your ruler needs something to compare against.
Plain paper is fine for an early layout check. For the final print test, use the paper you’ve chosen for the project and confirm your printer supports it. A tag that looks lovely on plain paper still needs its cardstock audition.
Still putting the design together? My beginner guide to creating a printable in Canva walks you through that part. Come back here when you’re ready to take it off the screen.
1. Check the Scale Before You Reach for the Scissors
Printing Straight From Canva? Start Here.
You don’t have to download a PDF first if your design is still in Canva. Open the design and choose File → Print → Use my printer. Canva prepares the file and opens your computer’s print window. Choose your printer and select just one page and one copy for your print test.
Choose Use my printer for your own printer. Print with Canva is the option for ordering professionally printed products. Canva explains both in its guide to printing with your personal printer.
Before printing, check the paper size and orientation in the print window. If you can’t find the sizing controls you need, download your design as PDF Print and use the PDF option below. On a phone or tablet, use the Canva app; direct printing isn’t supported in a mobile browser.
Using a Downloaded PDF? Check These Settings.
Match the paper size in your print settings to the paper in the tray. Then check the project’s instructions. If the pieces need to keep their original dimensions, choose Actual Size or 100% in your PDF viewer.
In Acrobat, Actual Size prints without scaling, while Fit changes the page size to fit the printable area. Adobe’s PDF page-sizing guide explains the difference. Actual Size can crop anything that doesn’t fit on the paper, so it’s worth checking the edges too.
Run your print test and measure a known edge with the ruler. Don’t let a convincing print preview talk you out of this bit. We want to know what came out of the printer.
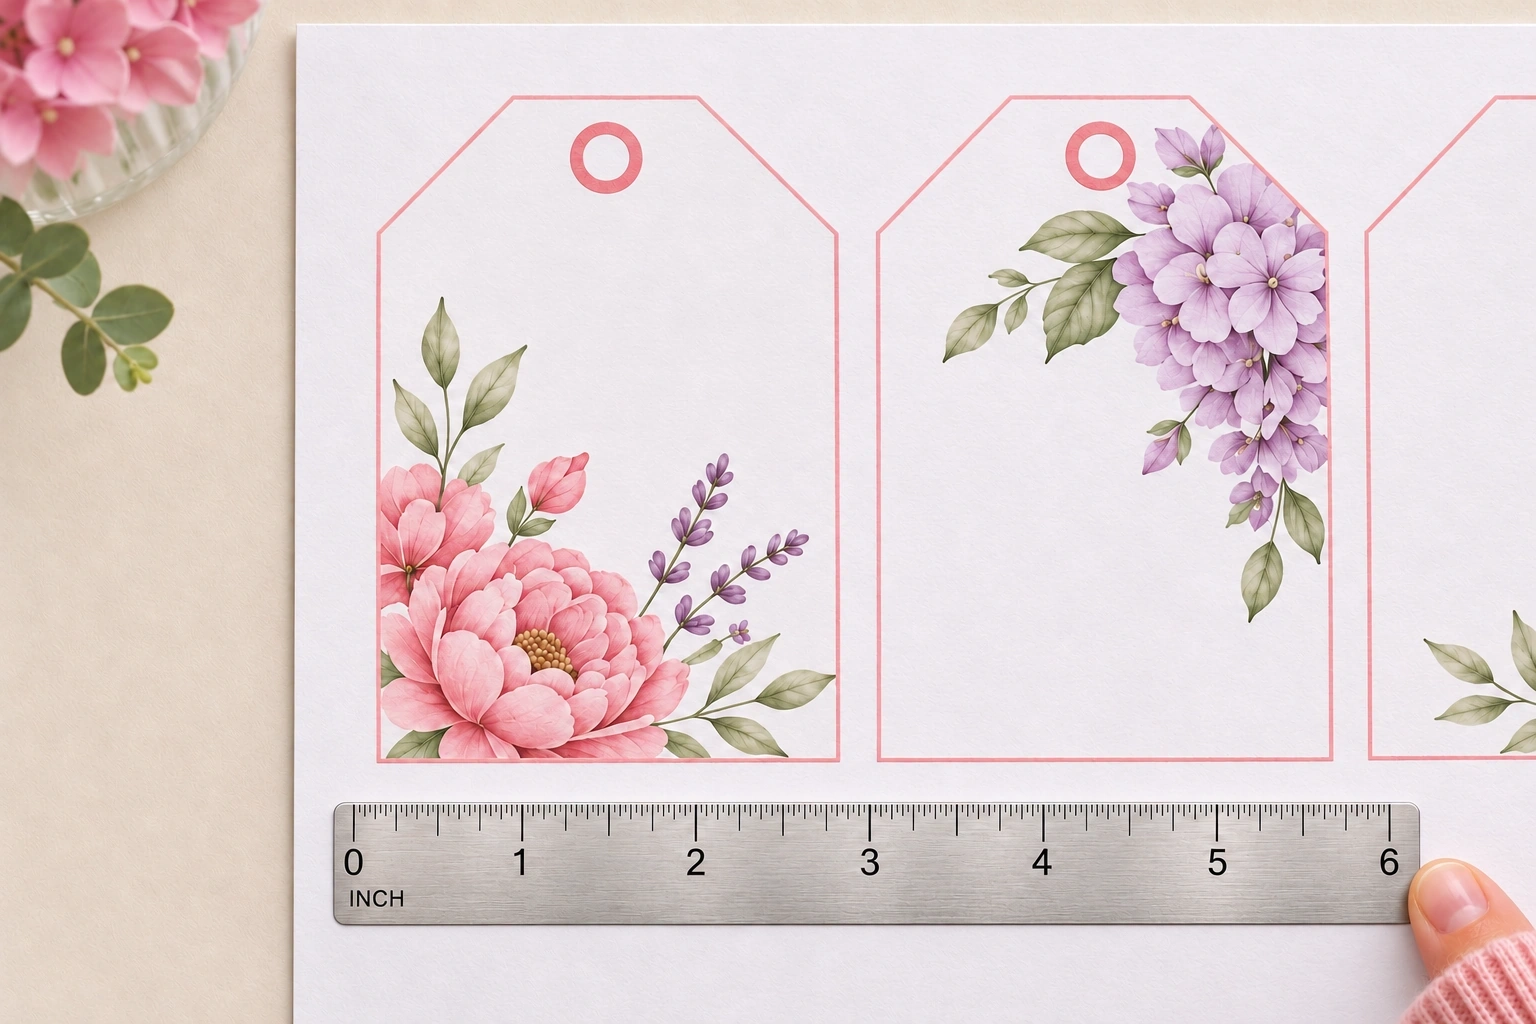
Example: If the tag should be 3 inches tall, measure that edge while the paper is still uncut. If it’s shorter, look for a Fit or Shrink setting. Change one setting, print another sample, and measure the same edge again.
If the size is right but part of the design is missing, check the margins and your printer’s printable area. Shrinking the page might bring the missing edge back, but it also makes the tag smaller. Check both before calling it fixed.
2. Check the Little Details Without the Screen Glow
Set your print test where you can read it comfortably. Look at the smallest words, thin outlines, and light lettering over colored backgrounds. If you have to lean in and squint to read a name, that’s your cue to adjust it.
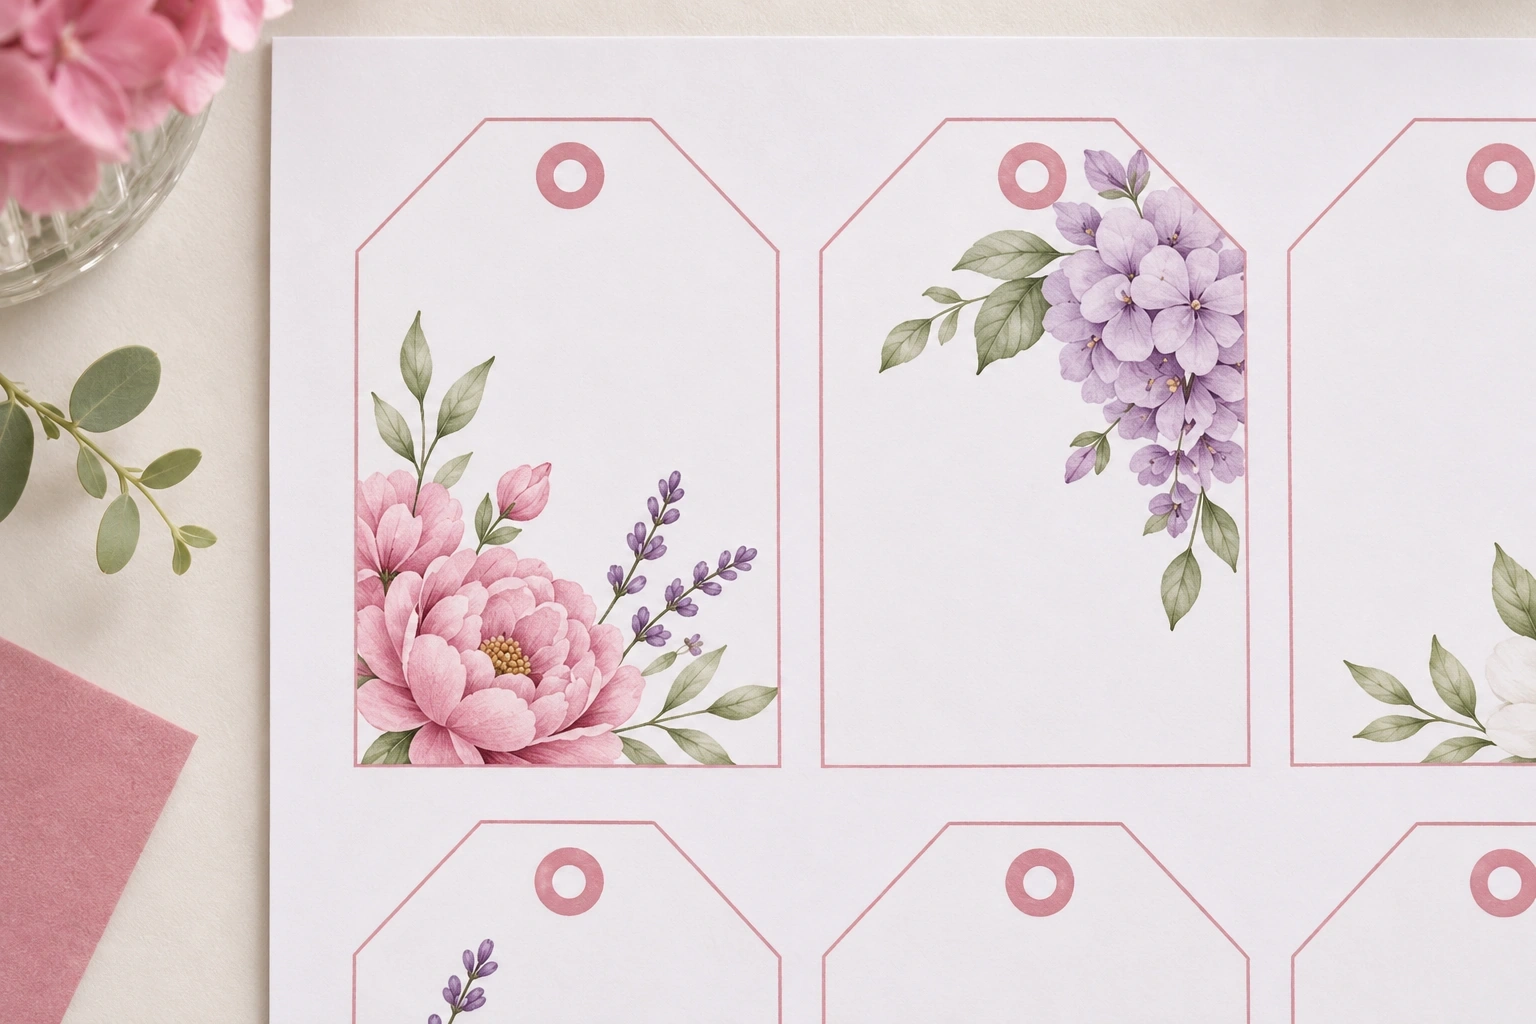
For a design you can edit, try darker text or a slightly larger font. You can keep the soft, pretty colors without asking the reader to solve a tiny pink mystery. If you bought a finished PDF, check the creator’s printing instructions before making changes.
Look at the sheet in the lighting where you’ll use it. Your screen and paper may show colors differently. For this check, focus on whether the words are readable and the details work together on the page.
If you change paper or the matching paper-type setting, run another print test. Make one adjustment at a time so you can tell what helped. Future you deserves better notes than “I clicked a few things and now it works.”
3. Trim One Piece and See How It Actually Works
Now the scissors can join in. Cut out one tag or card using the tool you’ll use for the full set. Check the space around the words and look for artwork that gets clipped in an awkward spot.
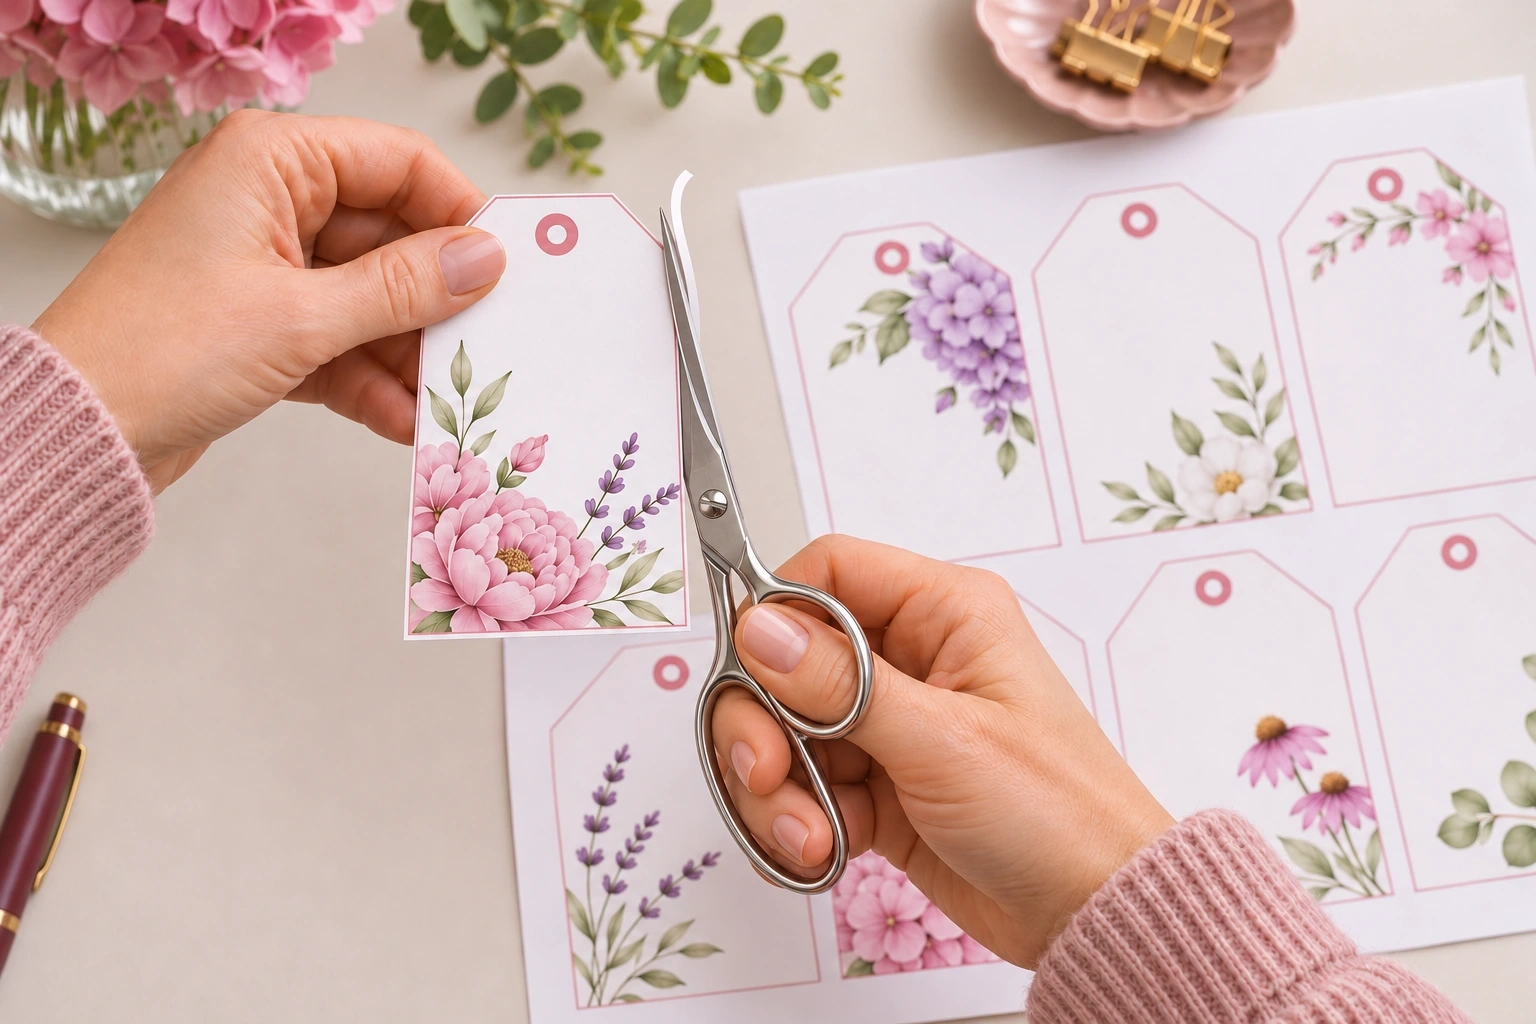
A layout can look perfectly roomy on a full sheet and suddenly feel crowded once you’ve cut it out. That’s why this part of the print test matters. Finish one piece before you commit to finishing twenty.
For a gift tag, check the punch-guide circle, punch the sample, and thread the ribbon through. Make sure there’s enough paper between the hole and the edge. The hole needs to hold the ribbon, not make a dramatic exit through the top of your tag.
For a planner insert, try the sample in your actual planner. Check that the punched holes stay clear of the writing space. If anything feels cramped or lands in the wrong place, pause and adjust it now. Then finish another sample to check your fix.
Save Your Print Test Settings for Next Time
✅ Your quick check: The size is right, you can read the little details, and the finished piece works the way you need it to.
Once your print test passes, note the PDF name, page number, paper type, and settings that worked. Keep the sample if it’ll help you compare another batch. It doesn’t need a fancy filing system. A note you can find again will do.
Repeat the print test if you change the file, paper, or printer. You’ve already done the figuring-out part, so those notes give you a starting point instead of another round of guesswork.
💡 Ready to try it? Follow my Christmas gift-tag tutorial in Canva, then print and finish one tag. A small project, one sheet, and a finished sample you can actually hold. That’s plenty for your first go.
FAQ
Pinterest Pins
Save this guide for your next printable project. Choose a pin below to keep the one-sheet print test handy.