How to Create a Printable in Canva (Beginner Step-by-Step Guide for 2026)
Opening a blank Canva page can feel oddly intimidating. The cursor is blinking, your ideas disappear, and suddenly you’re second-guessing yourself even though Canva itself isn’t that hard.
Most beginner frustration doesn’t come from design skill. It comes from not knowing where to start or what order to do things in. In this beginner guide, you’ll learn how to create a printable in Canva by focusing on one simple page at a time, so it actually works when printed.
Printables are meant to be used, not just looked at on a screen. That’s why page size, spacing, and alignment matter more than decoration.
Pick the Right Kind of Printable Before You Open Canva
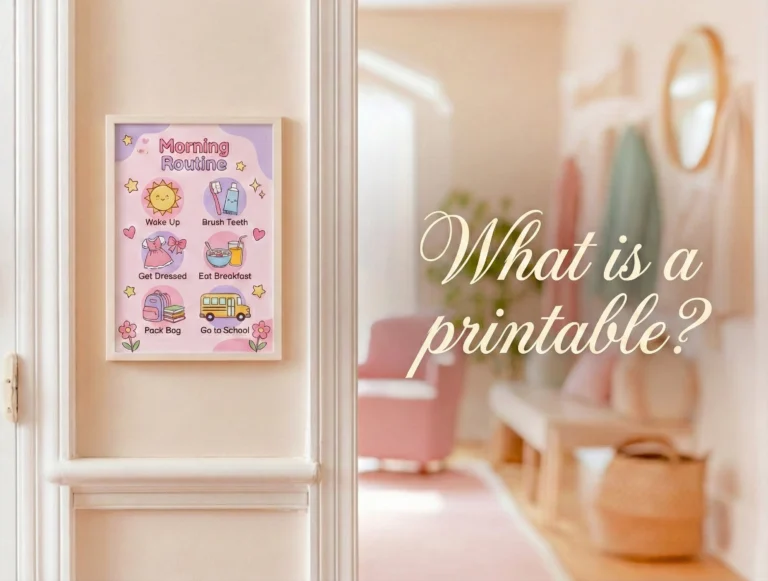
Before you open Canva, take a minute to decide what printable you’re actually making. If you’re still unsure what counts as a printable, this quick breakdown on what a printable is can help clear that up first. This step seems small, but it prevents a lot of beginner frustration later.
Your first printable doesn’t need to be impressive or perfect. It just needs to solve one clear, everyday problem.
Think about a page you would realistically print and use soon. Not a dream planner or a full system, just something simple and practical.
If you’re stuck choosing, this free Inspiration Hub helps brainstorm printable ideas before you open Canva.

Grab Your Inspiration Hub and Start Creating Today
Get 350 family-friendly printable ideas organized by niche to help you choose your next printable with ease.

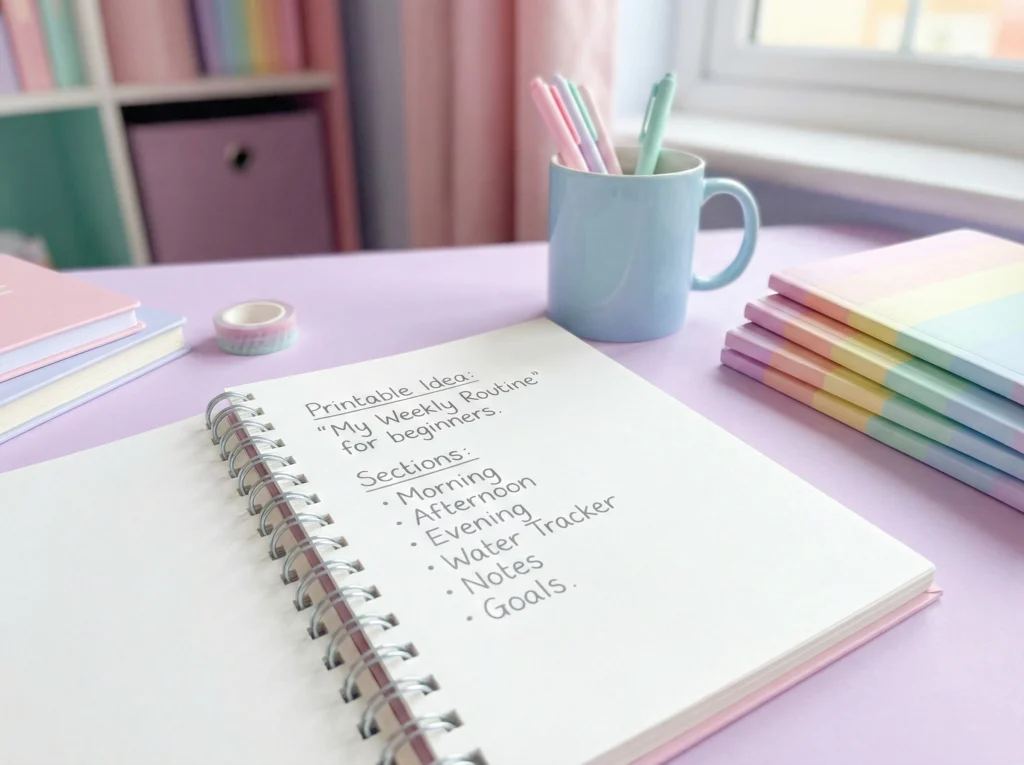
Here’s a quick way to plan it without overthinking:
- Who is this for?
A busy parent who needs a simple daily reset. - What problem does it solve?
Forgetting small daily tasks and feeling scattered. - What sections does it need?
A title, a short checklist, and a notes area. - How should it feel when printed?
Clean, calm, and easy to write on without feeling cramped.
That’s it. You don’t need more detail than this to start designing.
Once you have that answered, choose your paper size now, not later.
- Use US Letter (8.5 x 11) if you’re in the US
- Use A4 if you’re outside the US
Why this matters:
Resizing a printable after it’s designed can cause spacing issues, text shifts, and layout headaches. Picking the size first keeps everything stable while you design.
When you start with a clear purpose and the correct size, Canva feels much easier to work in. You’re no longer guessing what goes where, you’re building a page you already planned.
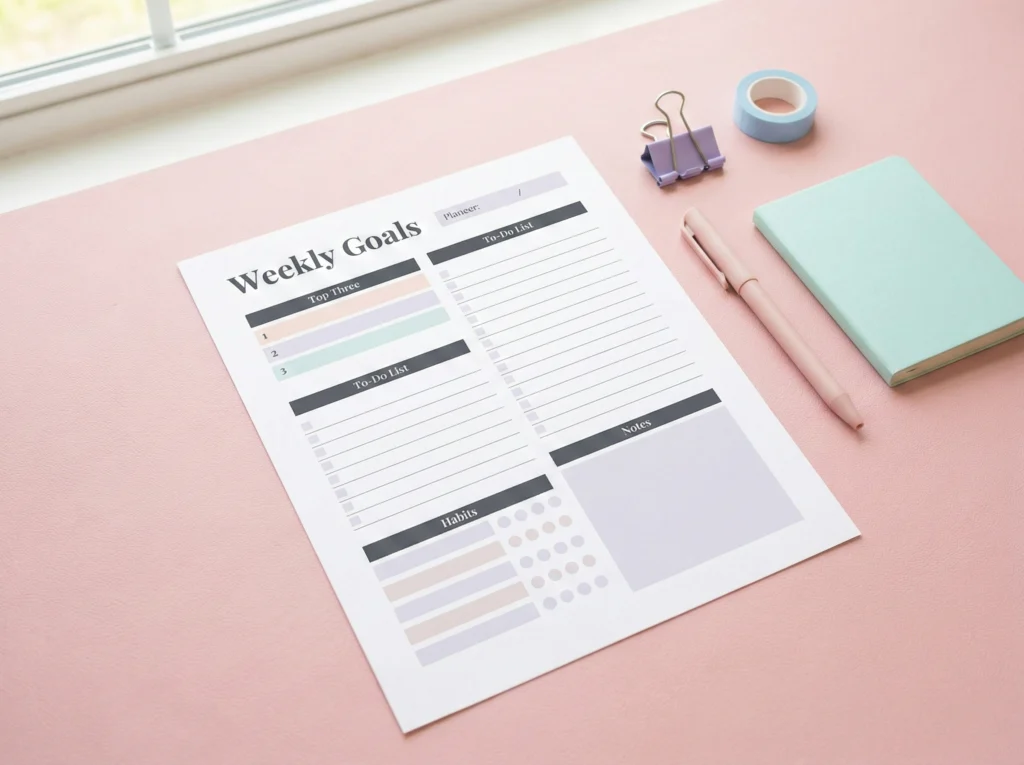
Choose a Simple First Printable You Will Actually Use
For your first printable, smaller really is better. One page with one clear purpose is enough to learn the process without overwhelming yourself.
When beginners start with a full planner or large bundle, they often get stuck managing the project instead of finishing anything. Starting small helps you build confidence and actually complete the page.
Think of this first printable like a clean handout or worksheet. It should feel familiar, simple, and usable right away.
Here are a few beginner-friendly printable ideas that work well because they’re straightforward and forgiving:
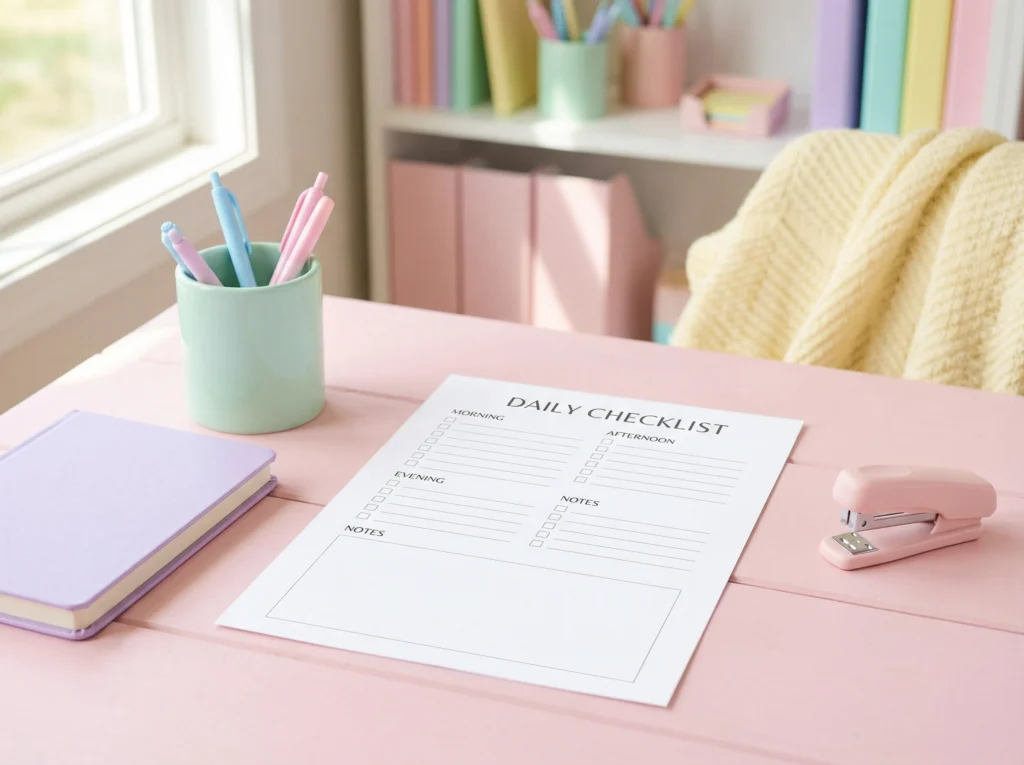
- A one-page daily checklist
- A simple habit tracker
- A reading log
- A sheet of gift tags
- A weekly meal planner
- A grocery list
- A kids’ routine chart
- A basic worksheet with a title and answer lines
These layouts are flexible, which means tiny spacing imperfections won’t ruin the page. Even if everything isn’t perfectly aligned, the printable will still look clean and usable.
If you’re feeling stuck or indecisive, the Inspiration Hub gives you over 350 curated digital product ideas across 14 categories so you can quickly choose one and start creating.
Quick reminder:
Your first printable is about learning the process, not creating a masterpiece. You can always refine or redesign it later once you feel more comfortable in Canva.
Sketch the Layout First (Boxes First, Words Second)
Before you start dragging things around in Canva, it helps to sketch the layout. This doesn’t need to be fancy or artistic. It’s just a quick way to plan where things will go when you're learning how to create a printable step by step.
You can sketch on paper, in a notebook, or even in your phone’s notes app. The goal is to map the page, not decorate it.
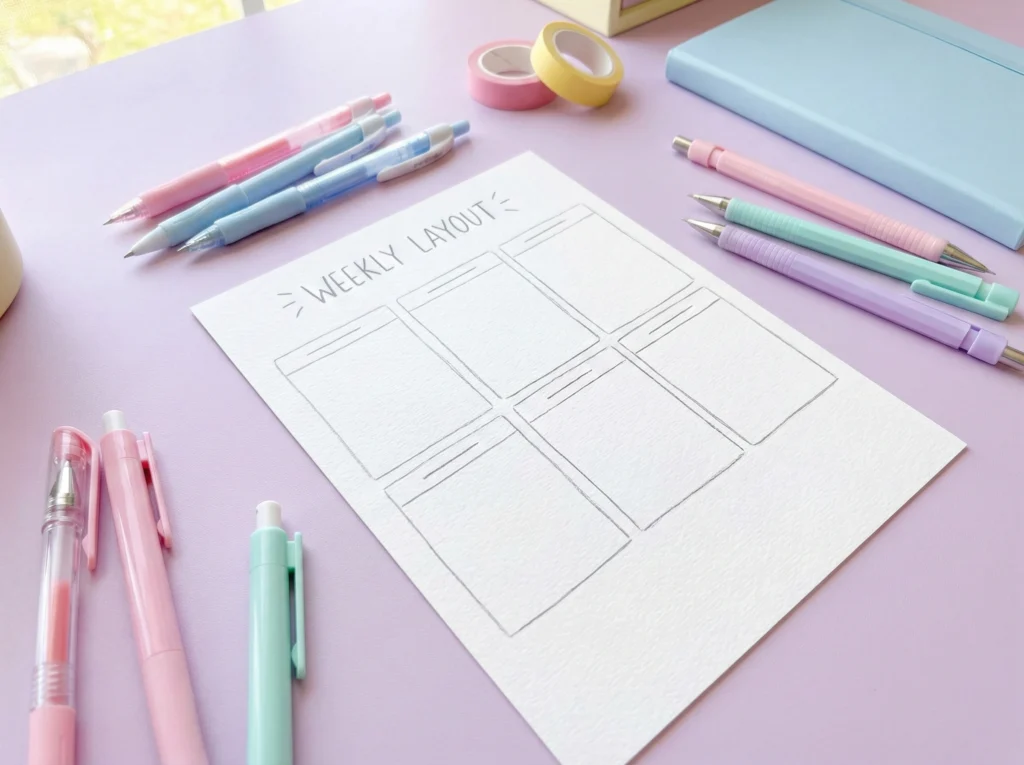
Start by blocking out the page using simple shapes:
- A header area at the top
- Boxes for each main section
- Lines or checkboxes where writing will go
- A little space around the edges so nothing feels cramped
Once the layout is sketched, then you add words. Doing it in this order keeps the page from slowly filling up in a messy way.
A common beginner mistake is typing first and trying to “make it fit” later. That’s how pages end up feeling crowded or uneven.
Helpful mindset shift:
Think of your printable like a paper form, not a design project. If it’s easy to scan and easy to write on, it’s doing its job.
If planning the layout still feels hard, using ChatGPT to help map out printable sections can make this step easier before you open Canva. Whether you sketch it yourself or get a little help thinking it through, having a clear plan makes a big difference.
When you sketch first, Canva feels much less overwhelming. You’re not guessing what to add next, you’re simply rebuilding a layout you already understand.
Make Your Printable Easy to Read When It’s Printed
A printable has one main job: it needs to work on paper. Something that looks fine on your screen can feel very different once it’s printed.
This usually happens when the text is too small, the writing space feels cramped, or the text is so light you’re squinting at it like you forgot your glasses. These are very normal beginner issues, and they’re easy to fix once you know what to look for.
Here are a few print-friendly basics to keep in mind as you learn how to design a printable:
- Make sure labels and instructions are easy to read at actual size
- Use dark text on a light background so it prints clearly
- Leave more room to write than you think you need
- Resist the urge to fill every inch of the page just because Canva lets you
People almost always write bigger than Canva text, especially with pens or markers. A page that feels “a little spacious” on screen usually feels just right once it’s printed.
It also helps to remember that zooming in can trick your brain. A section that looks roomy at 125% zoom can suddenly feel very tight when it comes out of the printer.
Quick check:
If you imagine writing on the page with a regular pen and your hand feels cramped just thinking about it, that area probably needs more space.
How to Create a Printable in Canva That Prints Cleanly
Before you start designing, it’s important to set up your Canva file the right way. This step affects how your printable looks when it comes out of the printer, not just how it looks on your screen.
If the size or setup is off, you can end up with cut-off edges, weird margins, or a page that prints smaller than you expected. That’s frustrating, especially when everything looked fine in Canva.
Start by choosing a standard paper size instead of a custom one. Standard sizes are what home printers and print shops expect, so they’re much more reliable.
- Use US Letter (8.5 x 11) if you’re in the US
- Use A4 if you’re outside the US
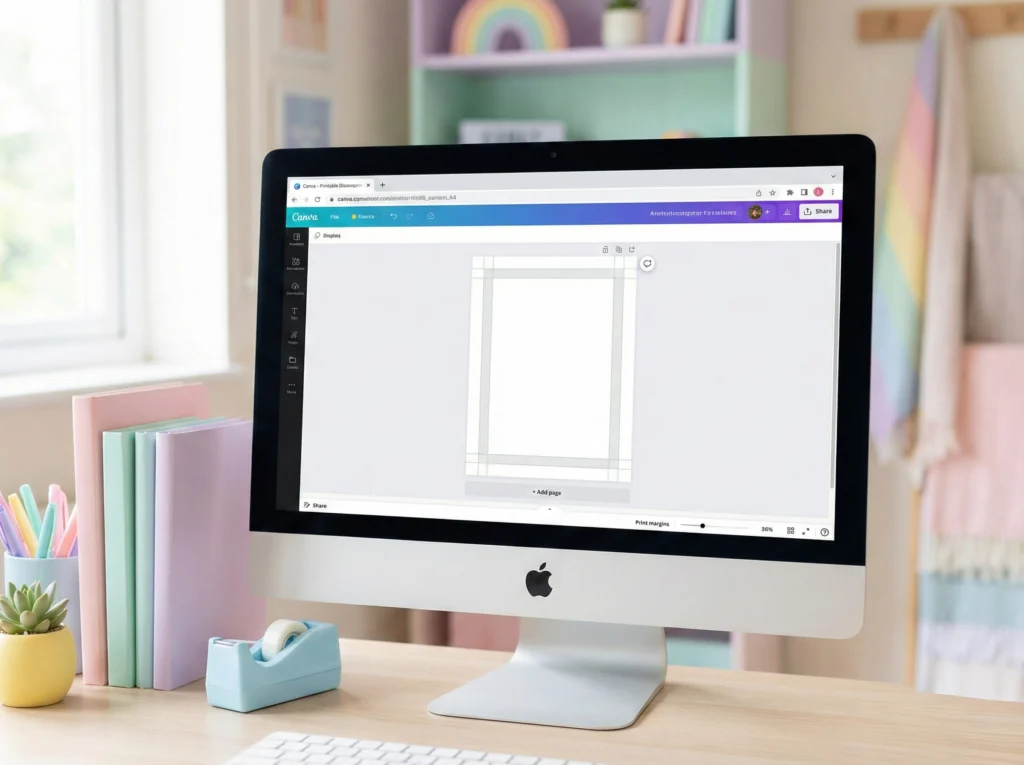
Once the page is open, give yourself some breathing room around the edges. Most printers can’t print all the way to the edge of the paper, even if they say they can.
A simple rule that works well for beginners is to keep important text and boxes at least a little bit away from the edge. If something feels close to the edge on screen, it’s probably too close in real life.
Friendly heads-up:
Resizing a printable after you’ve already designed it can make text shift and spacing go wonky. Picking the right size first saves you from having to redo work later.
Use Canva’s Alignment Tools So Everything Looks Straight

A printable can have a great idea and still feel a little off. Most of the time, that’s not a creativity issue, it’s an alignment issue.
When boxes are slightly uneven or text doesn’t quite line up, your brain notices even if you can’t explain why. That’s usually what makes a page feel messy instead of polished.
Canva has built-in tools that help with this, and they’re worth turning on early.
Start by showing yourself some visual guides:
- Open your design
- Click File
- Turn on rulers and guides
Once rulers are on, you can drag guides onto the page and use them like invisible guardrails. They help keep everything inside the same boundaries without you eyeballing it.
When it’s time to line things up, Canva makes it easier than it looks:
- Select one or more elements
- Click Position
- Use the align options (left, center, right, top, middle)
If you have a row of boxes, select all of them and use the spacing tools so everything lines up evenly. This is one of those small steps that makes a printable feel intentional and well put together.
Relatable moment:
If you’ve ever nudged a box one pixel to the left… then back… then zoomed in… then zoomed out, alignment tools are about to become your best friend. The Position and Tidy up tools in Canva save so much time and remove the pressure of trying to line everything up perfectly by hand.
Understand Layers, Grouping, and Locking (So Canva Stops Fighting You)
If you’ve ever tried to click on text and accidentally grabbed the background instead, welcome. That’s not you doing something wrong. That’s layers.
In Canva, every element sits on top of or underneath something else. When you don’t control that order, editing can feel weirdly frustrating for no obvious reason.
Here’s the simple version. Elements can be stacked, grouped, duplicated, or locked, and each one solves a very specific annoyance.
- Layers control what’s on top and what’s underneath
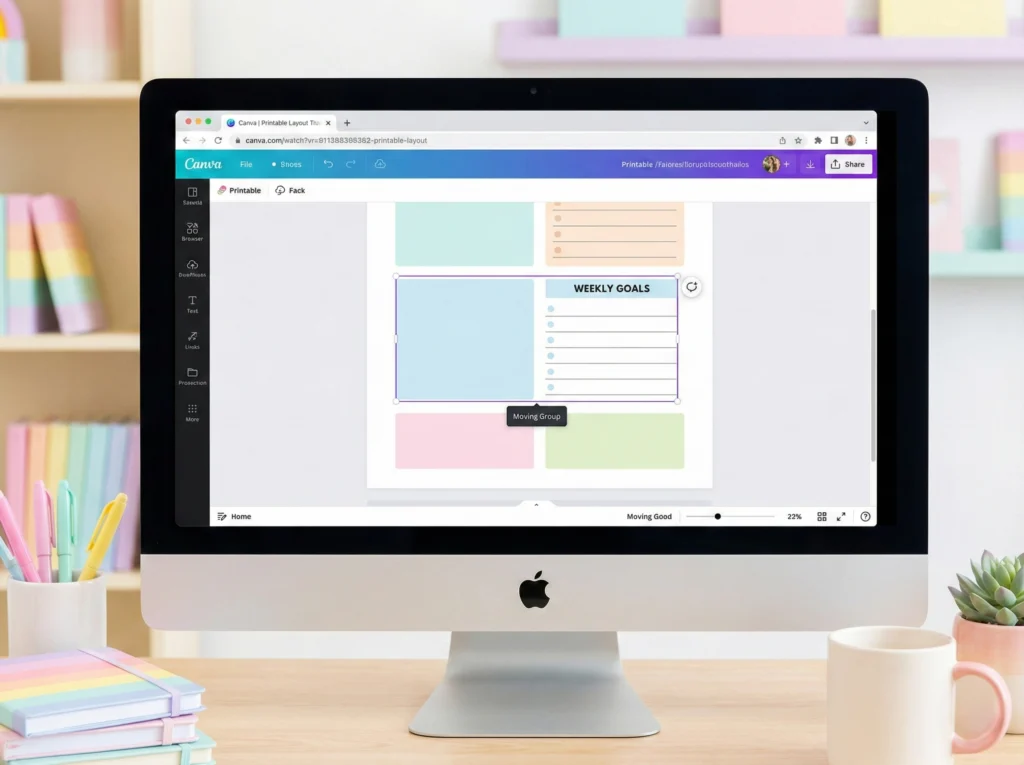
- Group keeps related items moving together
- Duplicate helps you reuse sections without rebuilding them
- Lock stops things from sliding around when you don’t want them to
Grouping is especially helpful for printables. If a section has a box, a label, and lines, group them once they look right so they move as one piece.
Duplicating grouped sections also saves a lot of time. Once one section looks good, copy it instead of recreating it from scratch and trying to make it match.
Helpful Reminder:
If Canva ever feels like it’s actively resisting you, it’s usually because something needs to be grouped or locked. Locking backgrounds and borders alone can save you from about twelve accidental drags.
Locking elements doesn’t mean you’re done with them forever. It just means you can focus on editing text and spacing without everything shifting around.
Once you start using grouping and locking on purpose, Canva feels a lot calmer. You’re no longer fighting the design, you’re just adjusting it.
Build Your Printable Step by Step (So It Doesn’t Turn Into Chaos)
When you’re inside Canva, the order you build things in really matters. Skipping around is usually how a page slowly turns into “why is everything everywhere.”
The easiest way to stay calm is to build your printable in layers, starting with the biggest pieces and ending with the smallest details.
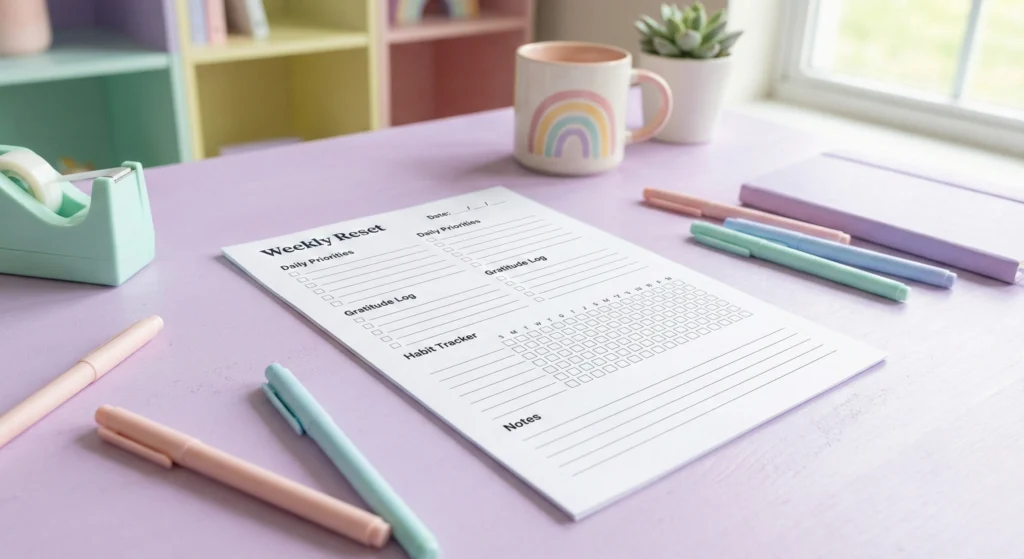
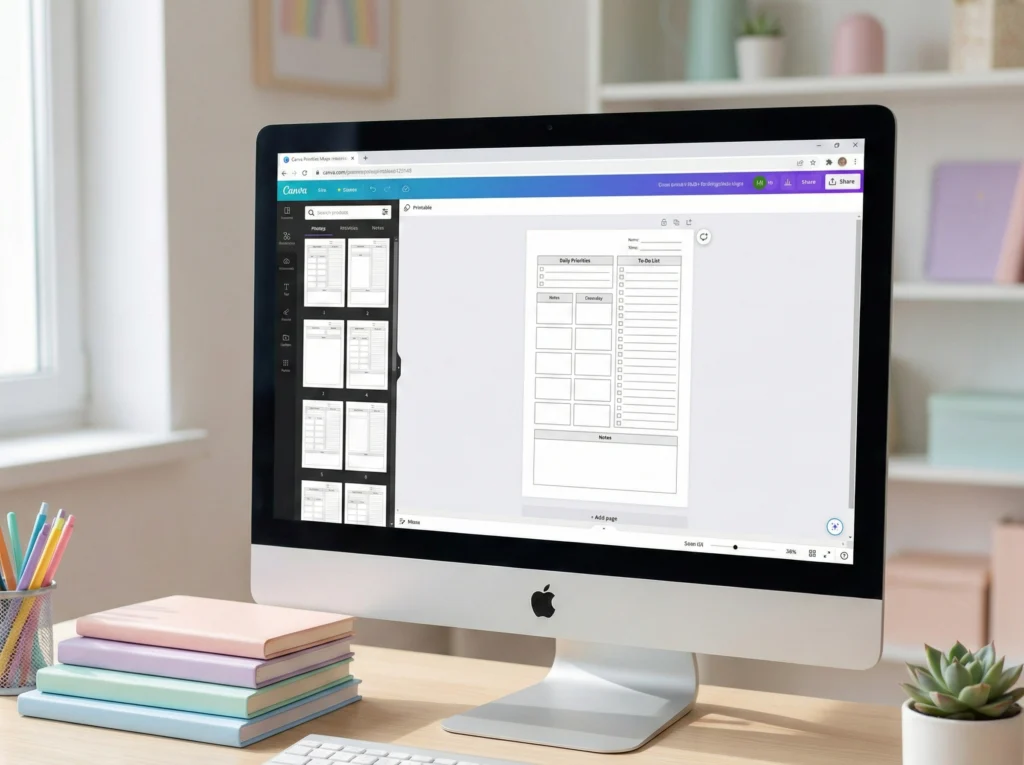
A simple order that works well for beginners looks like this:
- Background or page border
- Header area (title, date line, or top section)
- Main boxes or sections
- Lines, checkboxes, or dividers
- Text labels and instructions
Starting with structure first makes it much easier to keep spacing consistent. If you add text too early, you’ll end up constantly resizing and nudging things to make them fit.
This approach also helps you see problems sooner. If something feels crowded at the box stage, it’s only going to feel worse once text is added.
Once the layout is solid, adding text feels easy instead of frustrating. You’re filling in a plan, not trying to rescue a messy page.
Helpful tip:
Before you add any text, zoom out and look at the full page. If the layout already feels busy, simplify it now. It’s much easier to remove a box or adjust spacing before text is involved.
How to Use Canva Templates Without Copying Them
Templates are one of the easiest ways to get unstuck in Canva. They give you a basic structure to work with, which is especially helpful when you’re still learning how spacing and layout work.
The goal is to use a template as a starting point, not to keep it exactly the way it is. You’re using it to avoid a blank page, not to copy it as-is.
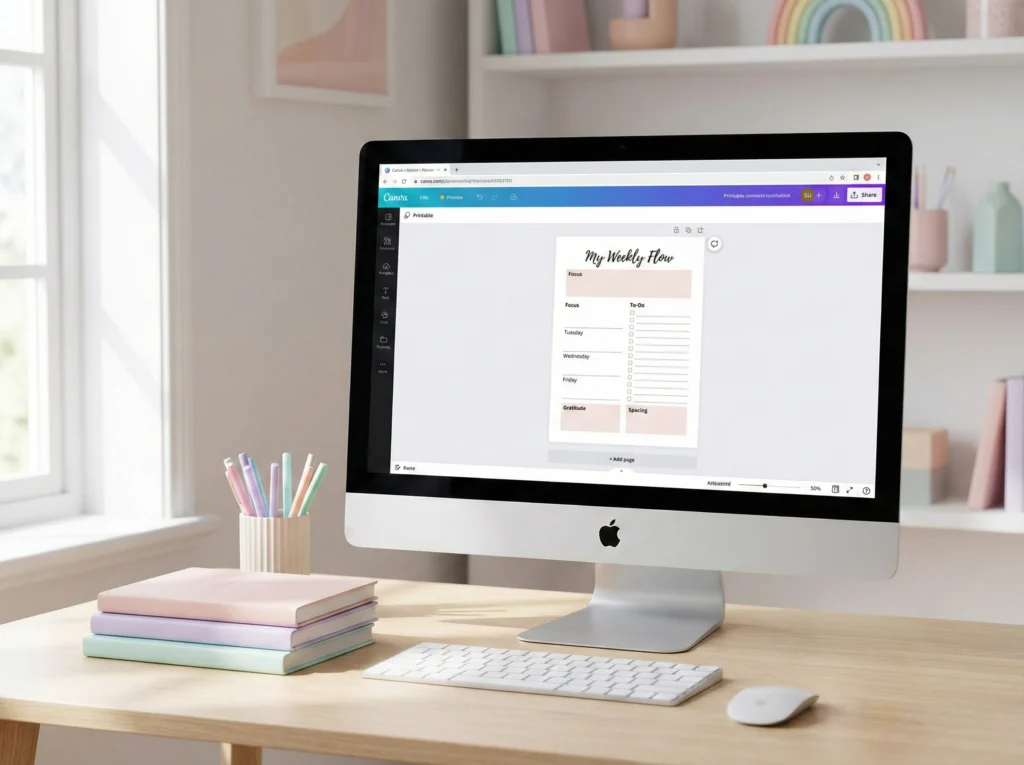
When you’re browsing templates, focus on how the page is laid out rather than how it looks. Pay attention to where the sections are, how much space there is between them, and how information is organized.
A simple way to make a template feel custom is to change a few big things early:
- Change the fonts right away
- Adjust the spacing between sections
- Rename section titles so they match your printable
- Remove sections you don’t need
Making these changes first helps you avoid designing around the template’s original layout. Instead, you’re reshaping it to fit what you want to create.
Important note about selling:
Canva templates are great for learning and planning, but they can’t be used as the base for products you plan to sell. If your goal is to sell printables later, you’ll need to create your layout from scratch or use assets that allow commercial use.
This is an area where it’s worth slowing down and being clear, especially if you’re building products for Etsy or your own shop. Knowing the rules early saves you from having to redo work later.
Templates are meant to save time, not box you in. Once the layout works for your printable, everything else gets easier.
How to Choose Fonts and Colors That Print Well
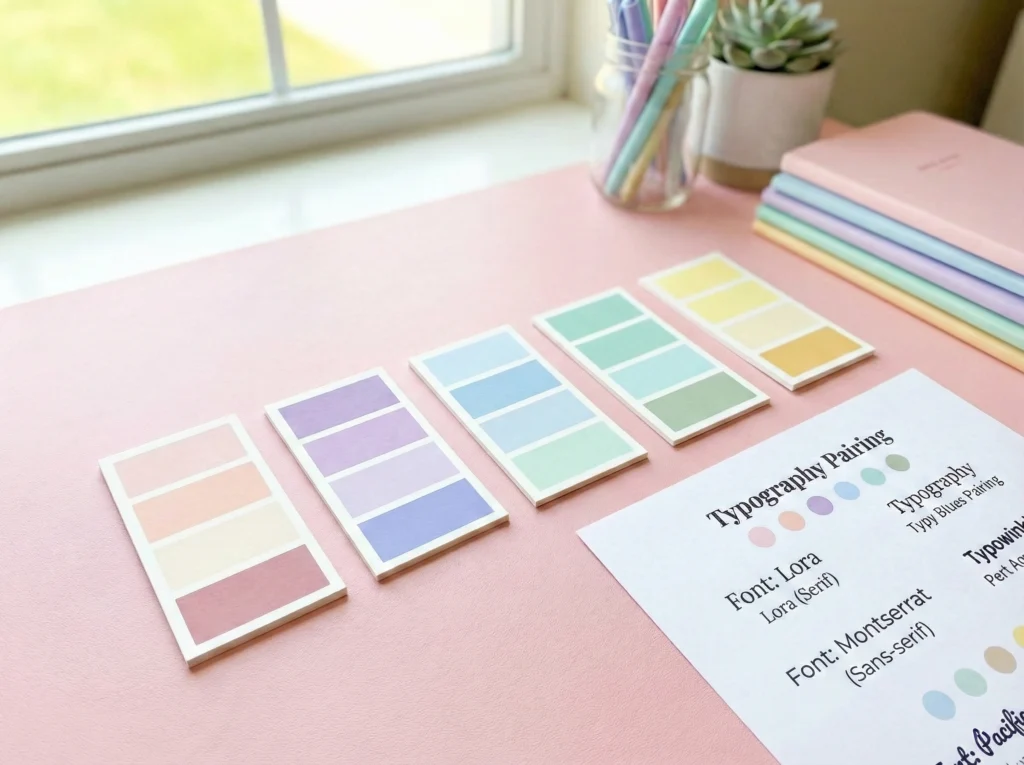
You don’t need fancy fonts or a huge color palette to make a printable look good. You just need choices that stay readable once they’re printed on paper.
A simple rule that works really well is to use two fonts total. One for headings and one for everything else. That’s it.
This keeps the page easy to scan and saves you from the “why does this suddenly feel chaotic?” moment.
Here’s an easy way to think about it:
- Pick one font that feels a little more fun or bold for titles
- Pick one clean, simple font for labels and instructions
If a font looks very thin or delicate on your screen, it often prints even lighter. When in doubt, choose something slightly heavier than you think you need.
Color matters on paper too. Not everything that looks cute on a screen prints clearly.
- Dark text on a light background is the safest choice
- Very light colors can disappear when printed
- Use color as an accent, not for long blocks of text
Relatable moment:
If you’ve ever printed something and immediately thought, “Why does this look faded?” it’s usually because the text color was too light or the font was too thin. What looks soft on a screen can disappear fast on paper.
When fonts and colors are easy to read, the printable feels calm and usable. That’s what people notice, even if they can’t explain why.
Download, Test Print, and Fix the “Why Does This Look Weird?” Stuff
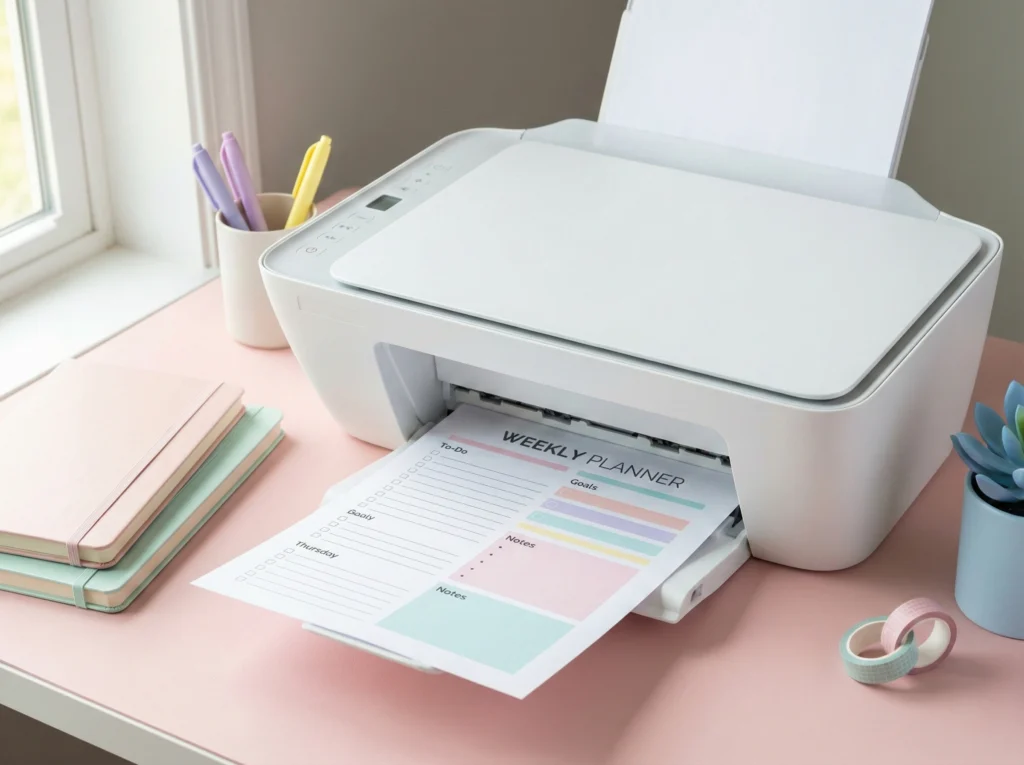
Your printable can look perfect in Canva and still come out of the printer looking… questionable. This is the part where most beginners panic, but it’s actually very normal.
Printing is a different world than screens. Something that looks great on your laptop can suddenly feel very different once it’s on paper, especially with home printers.
When you’re ready to download your file, choose PDF Print. This option is designed for paper, so text and lines stay crisp instead of fuzzy.
Before you share or sell anything, do one test print on regular paper. Not fancy paper. Not cardstock. Just plain printer paper like you used for homework and permission slips.
Here’s what to check when that page comes out:
- Does it fill the page the way you expected?
- Is anything cut off near the edges?
- Is all the text easy to read without squinting?
- Do the lines look solid, not broken or super light?
If something looks off, the fixes are usually small. Bump the font size up a bit. Thicken a line. Add more space near the edges.
Also check your printer settings. Make sure it’s set to actual size or 100%, not “fit to page.” Fit to page is how printables quietly shrink and betray you.
Once the test print looks good on plain paper, you’re in great shape. That’s when your printable officially moves from “still tweaking” to “ready to use.”
Do a Final Check Before You Share or Save It
Before you call your printable “done,” it helps to do one last quick pass. This isn’t about perfection. It’s just a sanity check to catch the small stuff.
Think of it like proofreading a paper before turning it in. You’re not rewriting the whole thing, just making sure nothing obvious slipped through.
Here’s a simple final checklist you can run through:
- The page size is correct (Letter or A4, not something random)
- Nothing important is too close to the edges
- Text is easy to read at actual size
- There’s enough space to comfortably write
- You downloaded it as PDF Print
If all of those look good, you’re in great shape. If one thing feels off, fix just that one thing and move on.
Helpful reminder:
Most people won’t notice tiny details the way you do. If it’s clear, readable, and easy to use, it’s doing its job.
At this point, your printable is ready to be used, shared, or saved for later. You don’t need to keep tweaking it just because you can.
What to Do After You Make Your First Printable in Canva
Once you’ve finished your printable in Canva, take a breath. You did the hardest part by actually finishing the page.
Your first printable doesn’t need to be perfect. It just needs to work. If it’s clear, readable, and easy to use, you’re in a good place.
Here are a few simple next steps you can take from here:
- Save a final version as PDF Print so it’s ready to use
- Keep an editable version in Canva in case you want to improve it later
- Try turning it into a small set with matching pages or variations
- Consider listing it on Etsy if selling printables is one of your goals
If you want a cozy place to keep learning and creating, you’re welcome to join my free Facebook group for creative entrepreneurs designing printables for moms and families. Inside, we share Canva and AI design tips, printable ideas, and lots of encouragement from people who get it.
Pick one next step that feels doable and start there. Progress doesn’t come from doing everything at once. It comes from finishing, saving, and taking the next small step forward.
Frequently Asked Questions About Creating Printables in Canva
Don’t lose this step-by-step Canva printable guide.
Save one of the pins below so you can come back when you’re ready to design, print, or turn your idea into a finished page that actually works on paper.